
Your scissors' journey - Part 1
Have you ever wondered what your scissors have gone through to reach your hands? We have been using the same process to craft our scissors since 1990 and we pride ourselves on working with master craftspeople to make them. In this 3-part blog series, we want to give you some insight into this process.
So take our hand and let us guide you through the journey your scissors go through, from a simple piece of metal to a fully formed and usable pair of LDH scissors!
Disclaimer:all manufacturers are different and have their own specific methods and preferences, varying from the type of metal(s) they use, temperatures, and machines, for example. There are similarities across all methods, though they vary from business to business. The process we’ll be talking about through this series will be about our carbon steel scissors, which includes our Midnight Edition Fabric Shears, our Traditional Fabric Shears, and our other carbon steel products.
The metal is hammered into the die to create the skeleton of your scissor.
Die Forging
At this stage your scissor is in 4 pieces: it has two handles and two blades not yet attached to each other.
Welding
The next step is to weld the ergonomic handles to their blades and prepare them for heat treatment. Don’t be concerned about how the scissors are being treated in the video below! We hammer the newly welded scissor to check that the weld has bonded successfully. It’s important that inspection is done by hand.
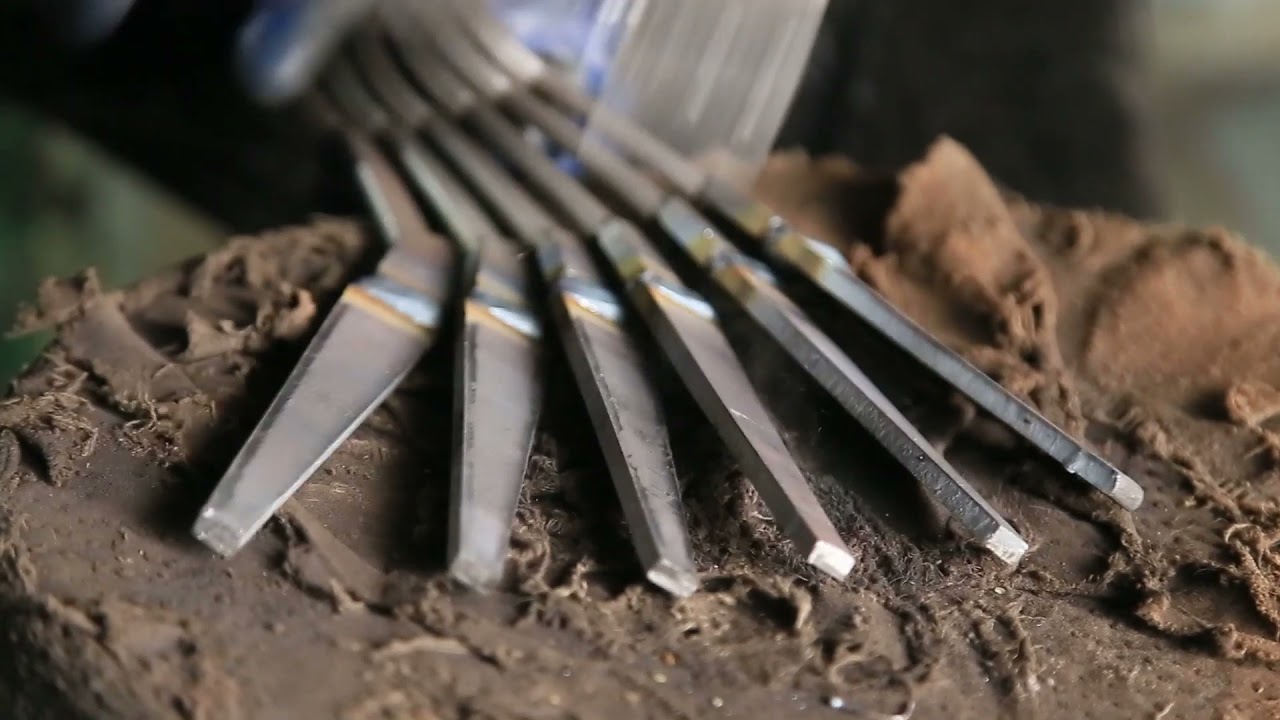
After die forging and welding, your scissor will have burrs, making it uncomfortable to handle.
Burr Removal
The burrs are formed during the die forging process, when excess steel is pushed from out of the die. All of these burrs have to be removed, and, once they are, your scissor begins to take on the shape of it's final form.
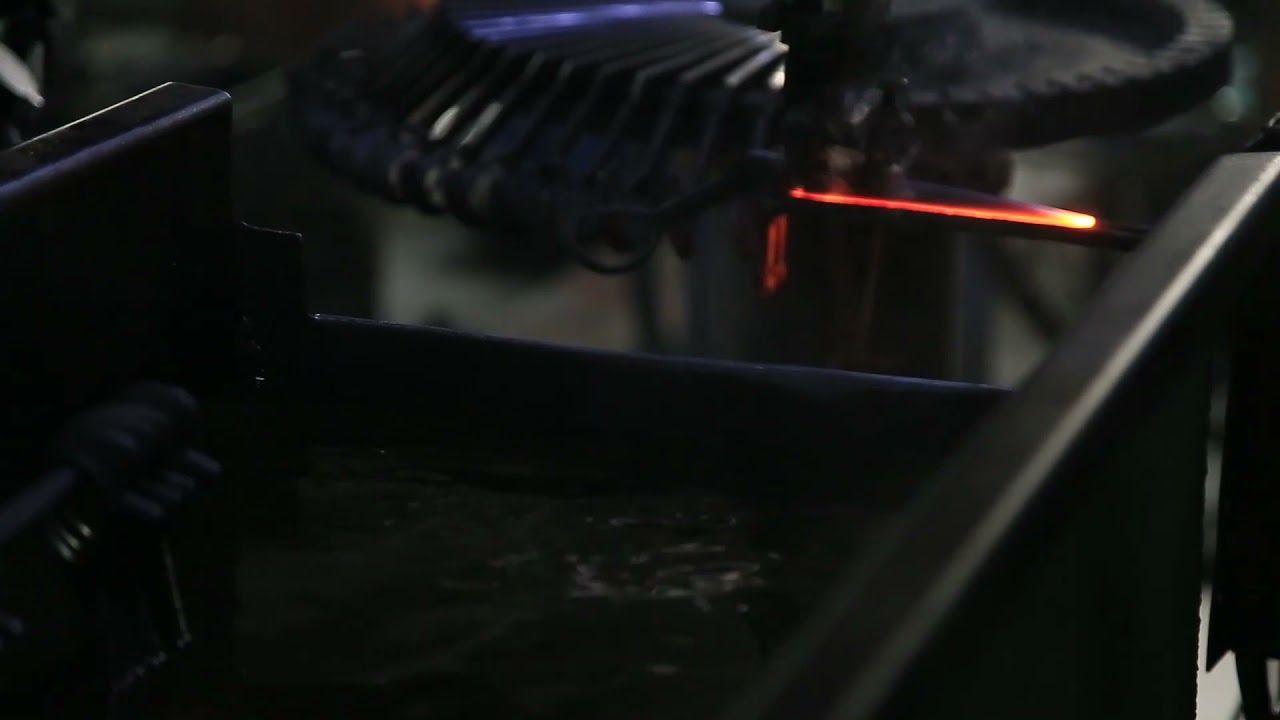
After burr removal, your scissors needs take a bath to harden the steel.
Heat Treatment
Once the burrs have been removed, your scissor will be heated up to a particular degree and will then take a quick bath to make sure it is hardened perfectly.
Having gone through the heating process, your scissor is quenched and tempered to ensure that it will be both hard enough to withstand the steel wearing down over time, and is tough enough for daily use! Without tempering, any hardened metal can be left very brittle; with tempering, the hardness of the metal is reduced slightly, but leaves the metal/steel much less brittle. What this means for a scissor is reducing the chances of the cutting edge of the steel, in particular, becoming chipped.
Coming up in the second part of this blog series, with the skeleton of your scissor completed, the process will pass directly through the hands of many different master craftspeople as your scissor really starts to take on the form of a final product!
Our Carbon Steel collection